Using the New Divi WooCommerce Modules
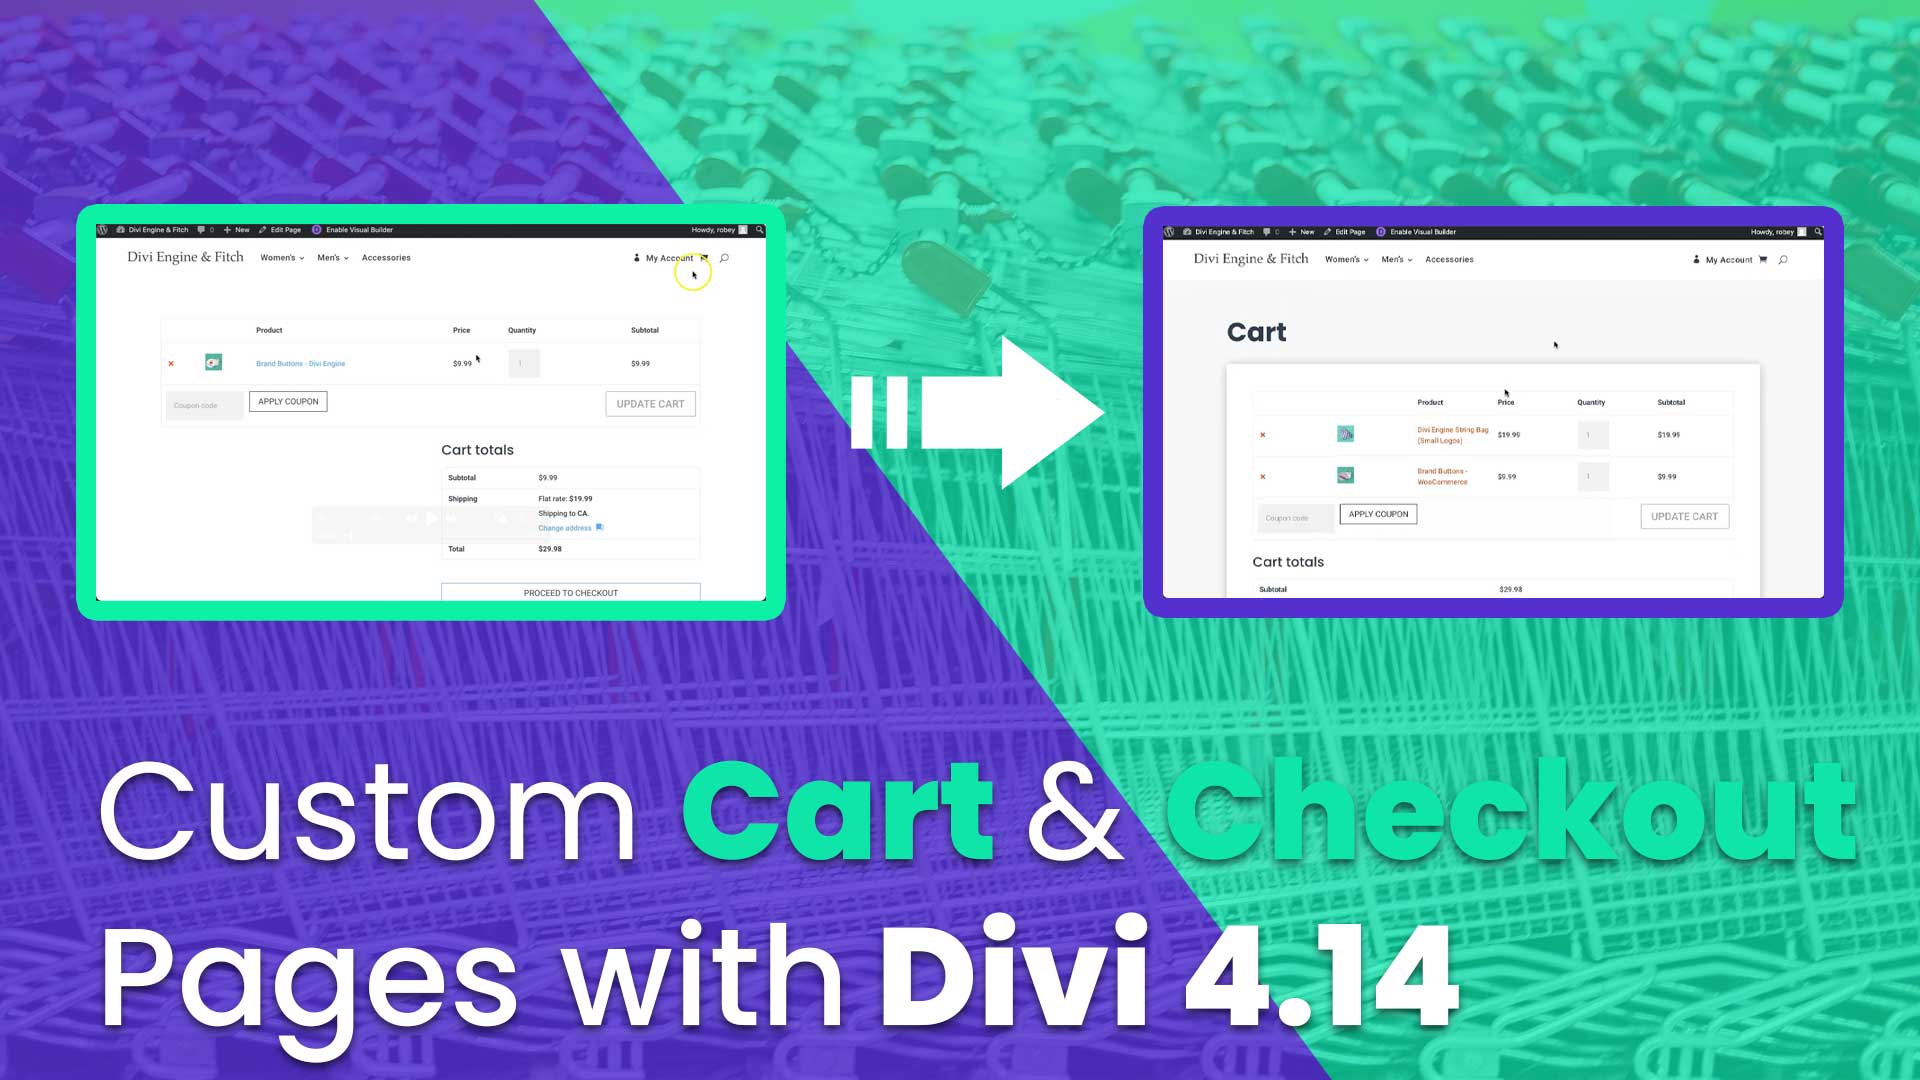
Time to put those hand new Divi WooCommerce Modules to work and create some custom Cart and Checkout pages. We will be doing this as an expansion of our How to Clone Any Online Store with Divi and WooCommerce tutorials series, so definitely go check that out if you have not already done so.
But, don’t worry, if you didn’t follow it, this tutorial will work with any Divi website that has Divi 4.14 or newer installed. No excuses 😂
The update is not shiny new, but still new enough for us to do a tutorial that will show you exactly what is possible for creating custom cart and checkout pages with this update. In case you missed it, we did release a FREE Cart & Checkout Pages using the new Divi 4.14 Woo Modules, so definitely check that out for another awesome FREEBIE!
First, we’ll take a look at what modules were added, and then we will build our custom Divi Cart page, and then move to a custom Divi Checkout page.
Let’s get to it!
Video Tutorial
Table of Contents
Difficulty
Easy
Time
25 Minutes
The New Divi WooCommerce Modules
A very exciting addition to the new Divi 4.14 Update was the inclusion of new WooCommerce modules that allow you to style both the Cart and Checkout pages. Gone are the days of the not-so-great looking Cart and Checkout pages, Divi has now given everybody the ability to have these pages better align with their branding.
Let’s take a look at what modules were added:
Cart Modules
Woo Cart Products
Displays all the products that have been added to the cart.
Woo Cart Totals
Shows the total amount due and allows you to advance to checkout.
Woo Cart Cross Sells
Allows you to Cross Sell related products on the cart page.
Checkout Modules
Woo Checkout Billing
Allows the user to endter their billing address.
Woo Checkout Shipping
Allows the user to endter their shipping address.
Woo Checkout Details
Shows the user a brief summary of the items in the cart.
Woo Checkout Information
Allows the user to add additional notes or information on the order.
Woo Checkout Payment
Displays your configured payment options.
For our full write-up on the Divi 4.14 Update, check out our post titled Divi 4.14 WooCommerce Update: New Modules for Cart & Checkout and then some.
Custom Divi WooCommerce Cart Page
Create or Edit Theme Builder Template
Create
Head to Divi > Theme Builder > Add New Template > Scroll to WooCommerce Pages > Check Cart > Click Create Template
Add Custom Body > Build from Scratch
Edit
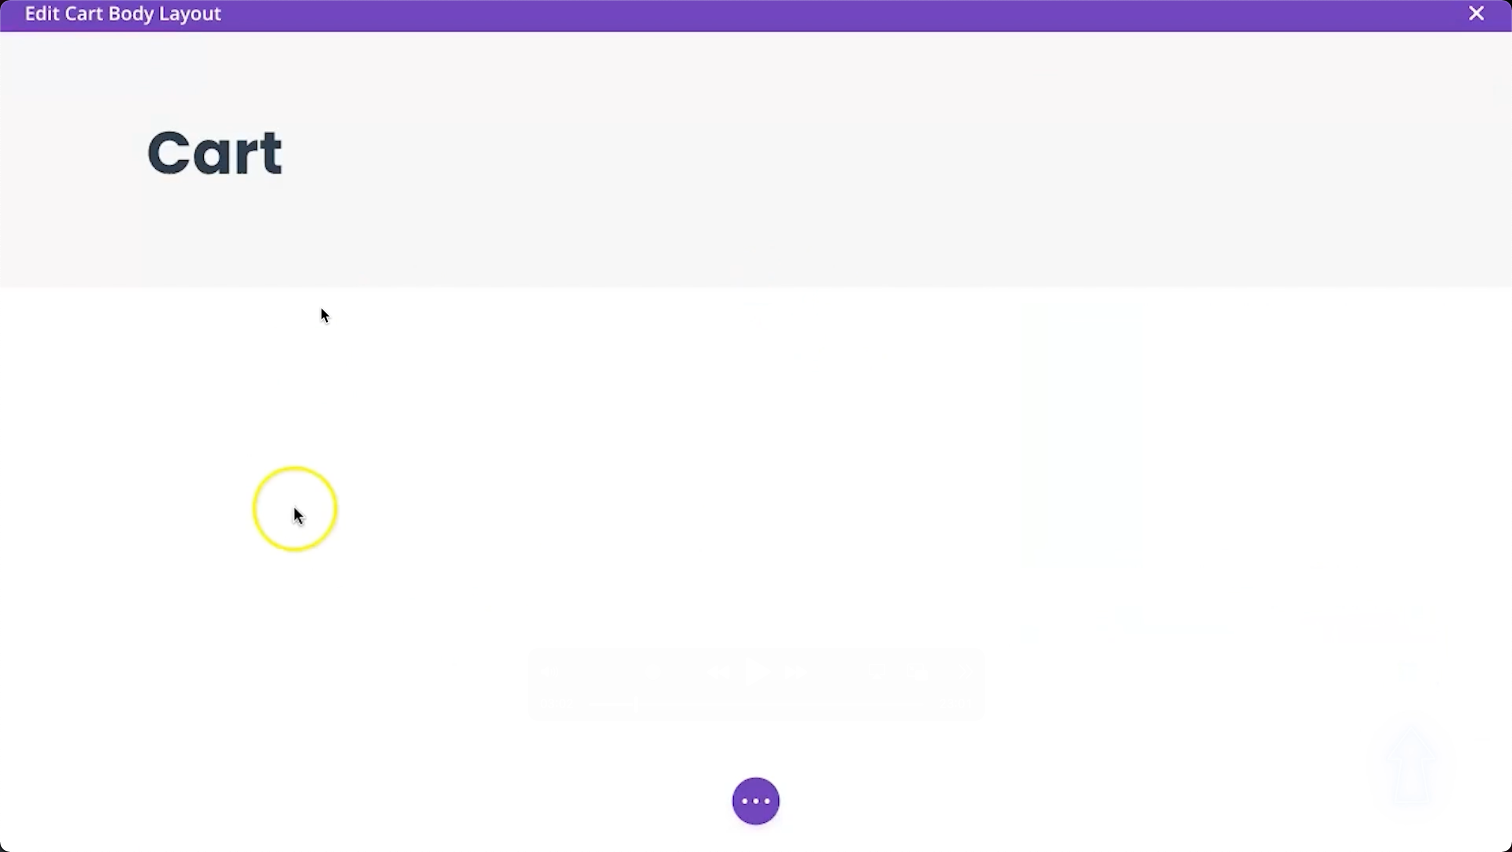
Head to Divi > Theme Builder > Cart > Edit Custom Body > Delete All the Sections
Add a Single Column Row
Add a New Single Column Row > Add a Text Module
Section Settings
Background Color > #f6f6f6
Text Module Settings
Text > H1 Heading with text “Cart”
Heading Text
Heading Font > Default
Heading Font Weight > Bold
Heading Text Size > 51px
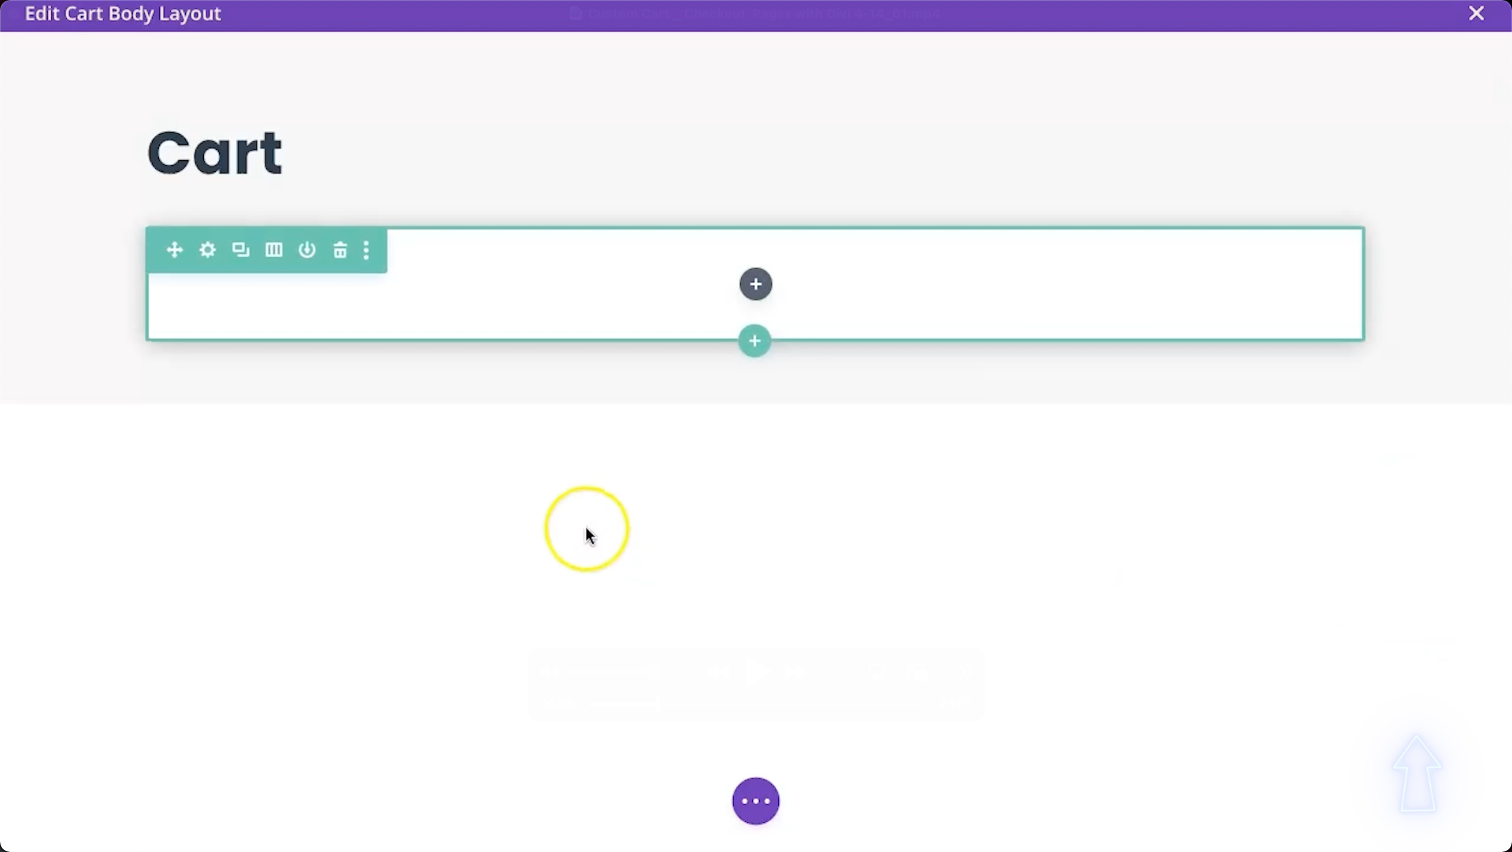
Add a Single Column Row
Add a New Single Column Row
Row Settings
Background Color > #ffffff
Spacing
Padding Top/Bottom > 25px
Padding Left/Right > 50px
Border
Rounded Corners > 5px
Box Shadow
Box Shadow > Option 1
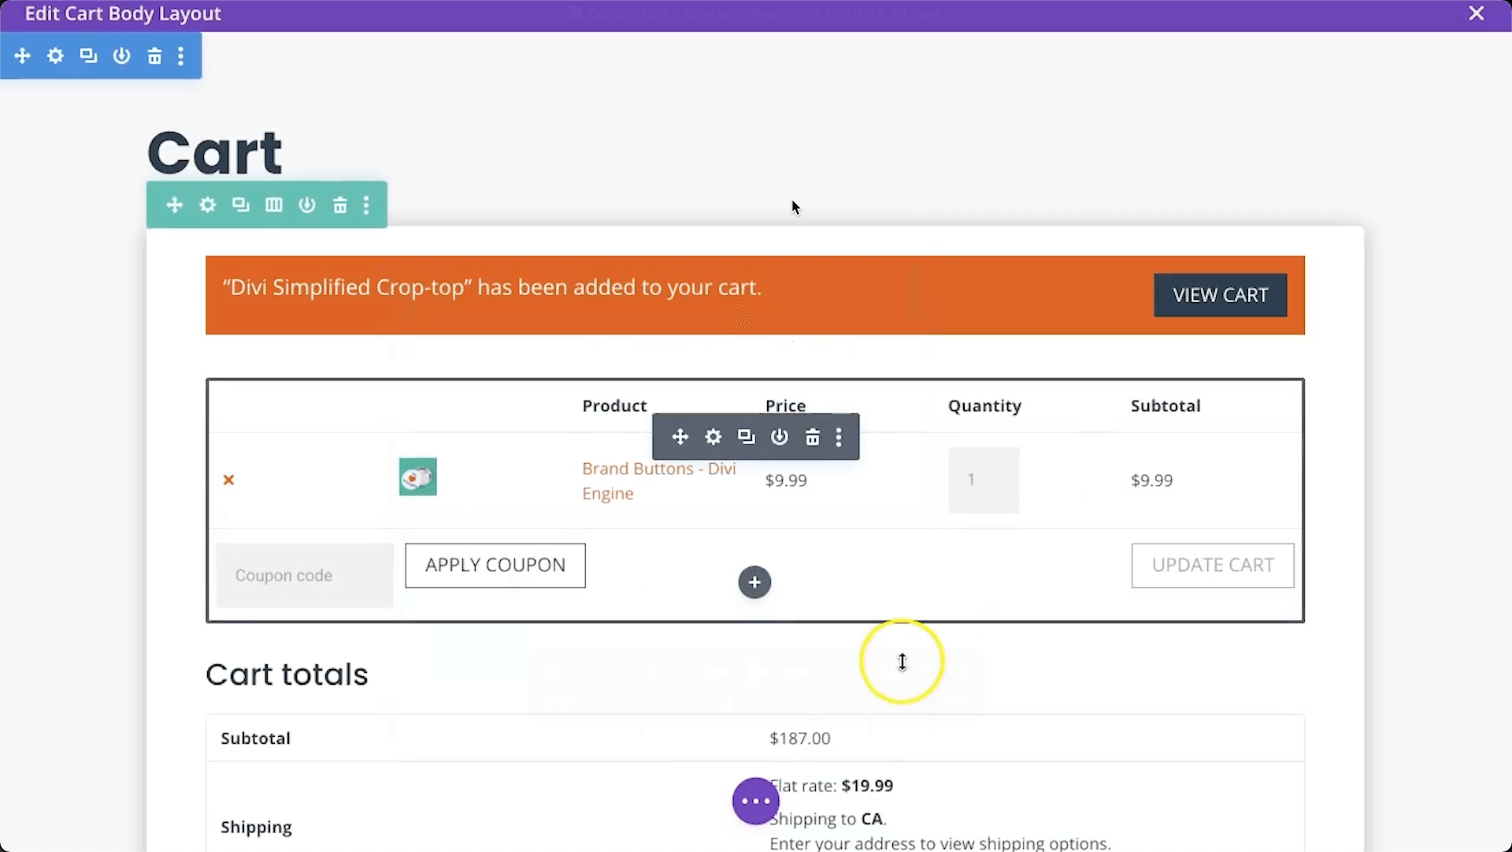
Add a Woo Cart Products Module > Settings
Text
Link Text Color > #e04405
Button
Use Custom Styles for Button > YES
Button Text Color > #253746
Button Background Color > #ffffff
Button Border Width > 1px
Button Border Color > #253746
Add a Woo Cart Totals Module > Settings
Text
Link Text Color > #e04405
Button
Use Custom Styles for Button > YES
Button Text Color > #253746
Button Background Color > #ffffff
Button Border Width > 1px
Button Border Color > #253746
Add a Woo Notice Module > Settings
Page Type > Cart
Background Color > #e04405
Error Text
Error Font > Default
Error Font Weight > Ultra Bold
Error Text Color > #ffffff
Error Letter Spacing > 1px
Button
Use Custom Styles for Button > YES
Button Text Color > #ffffff
Button Background Color > #253746
Button Border Width > 0px
Drag the Woo Notice Module above the Woo Cart Products Module in the Row.
Add a Single Column Row
Add a New Single Column Row > Add a Text Module
Text Module Settings
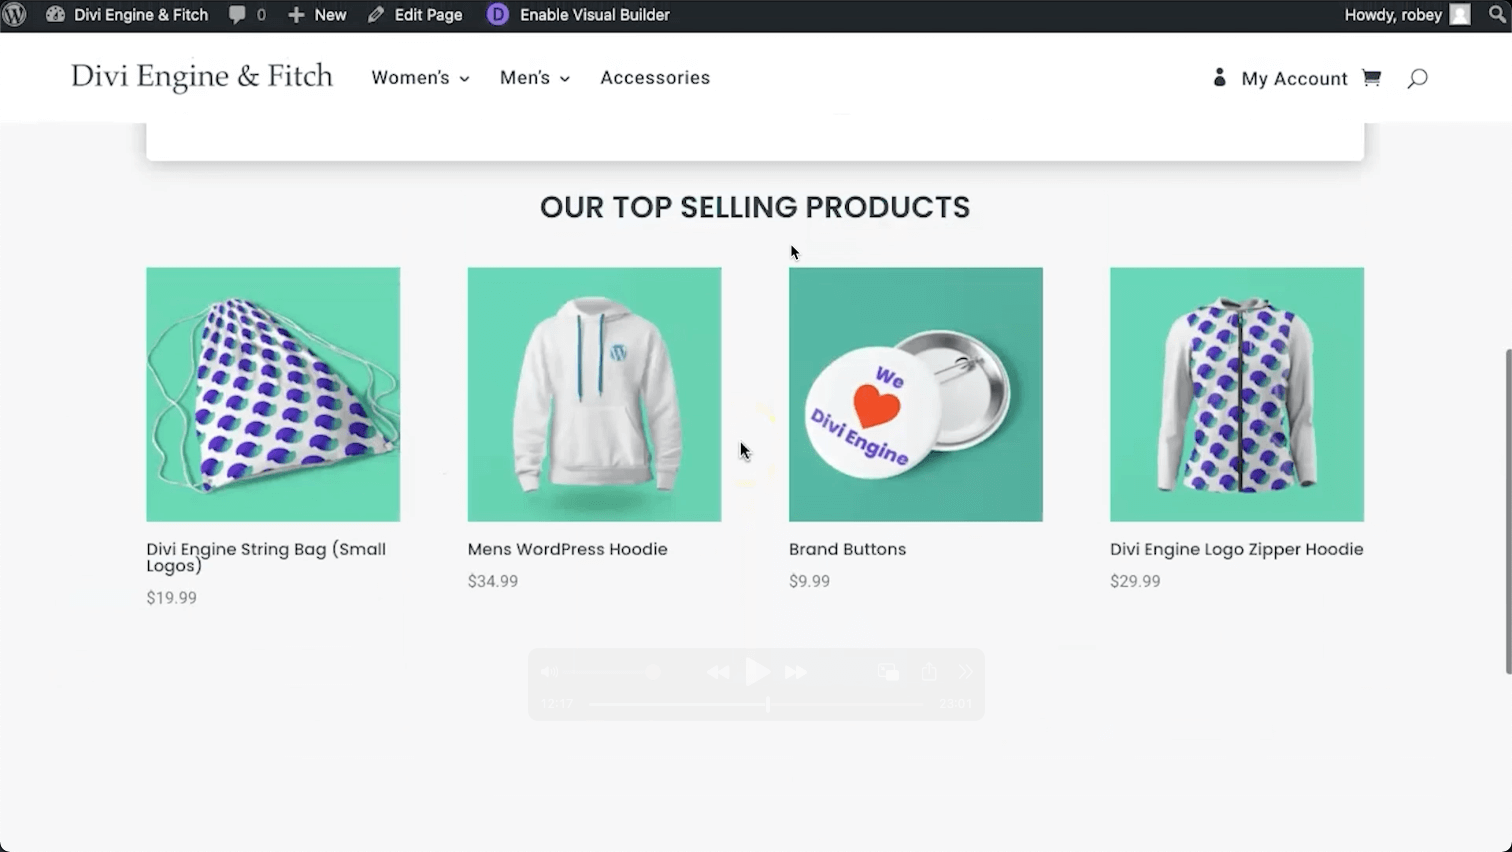
Text > H2 Heading with text “OUR TOP SELLING PRODUCTS”
Heading Text > H2
Heading Font Weight > Semi-Bold
Heading 2 Text Alignment > Center
Add a Woo Products Module > Settings
Product View Type > Best Selling Products
Product Count > 4
Custom Divi WooCommerce Checkout Page
Create or Edit Theme Builder Template
Create
Head to Divi > Theme Builder > Add New Template > Scroll to WooCommerce Pages > Check Checkout > Click Create Template
Add Custom Body > Build from Scratch
Edit
Head to Divi > Theme Builder > Checkout > Edit Custom Body > Delete All the Sections
Add a Two-Column Row
Add a New Two-Column Row
Section Settings
Background Color > #f6f6f6
Add a Woo Checkout Billing Module > Settings
Default
Add a Woo Checkout Shipping Module > Settings
Default
Add a Woo Checkout Details Module > Settings
Text
Link Text Color > #e04405
Add a Woo Checkout Information Module > Settings
Default
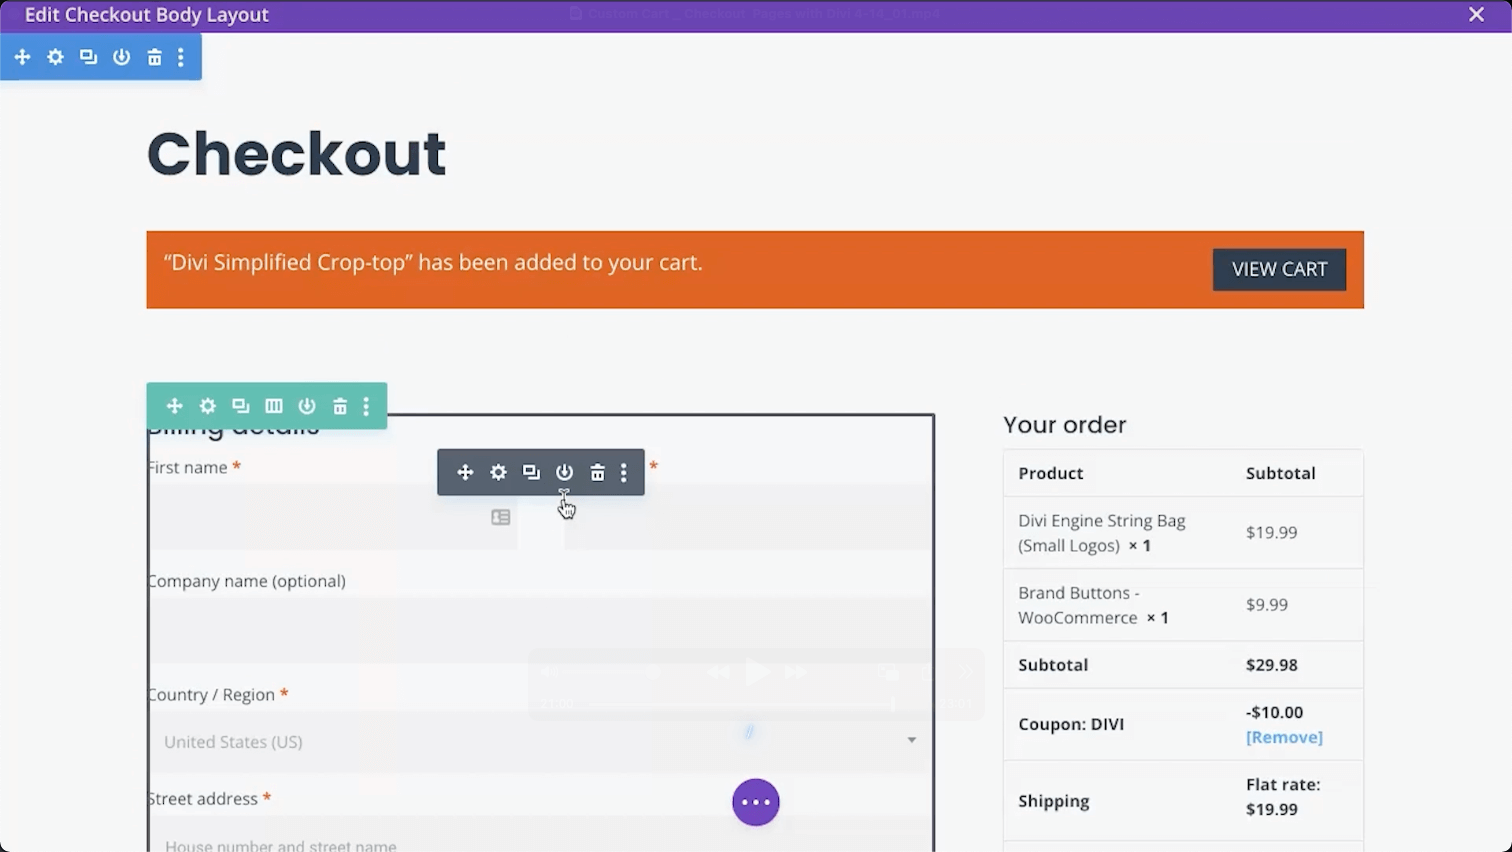
Add a Woo Notice Module > Settings
Page Type > Checkout
Background Color > #e04405
Error Text
Error Font > Default
Error Font Weight > Ultra Bold
Error Text Color > #ffffff
Error Letter Spacing > 1px
Button
Use Custom Styles for Button > YES
Button Text Color > #ffffff
Button Background Color > #253746
Button Border Width > 0px
Drag the Woo Notice Module below the page title Text Module in the first Row.
Basically, all you customers right now…
Conclusion
Well done team! Using the power of the new Divi 4.14 Update we were able to Create Custom Cart and Checkout Pages using the New Divi WooCommerce Modules. It is actually pretty simple as you are using the Divi Builder you already know and love. Now, if you really want to take things to the next level with Cart and Checkout page templates in the style of Shopify, Multi-step, or Single Page Cart and Checkout, definitely check out Divi BodyCommerce!
Definitely head to our Youtube Channel and subscribe to make sure you don’t miss a single thing because this is going to be valuable for you and your design agency!
Catch you folks next week!












0 Comments