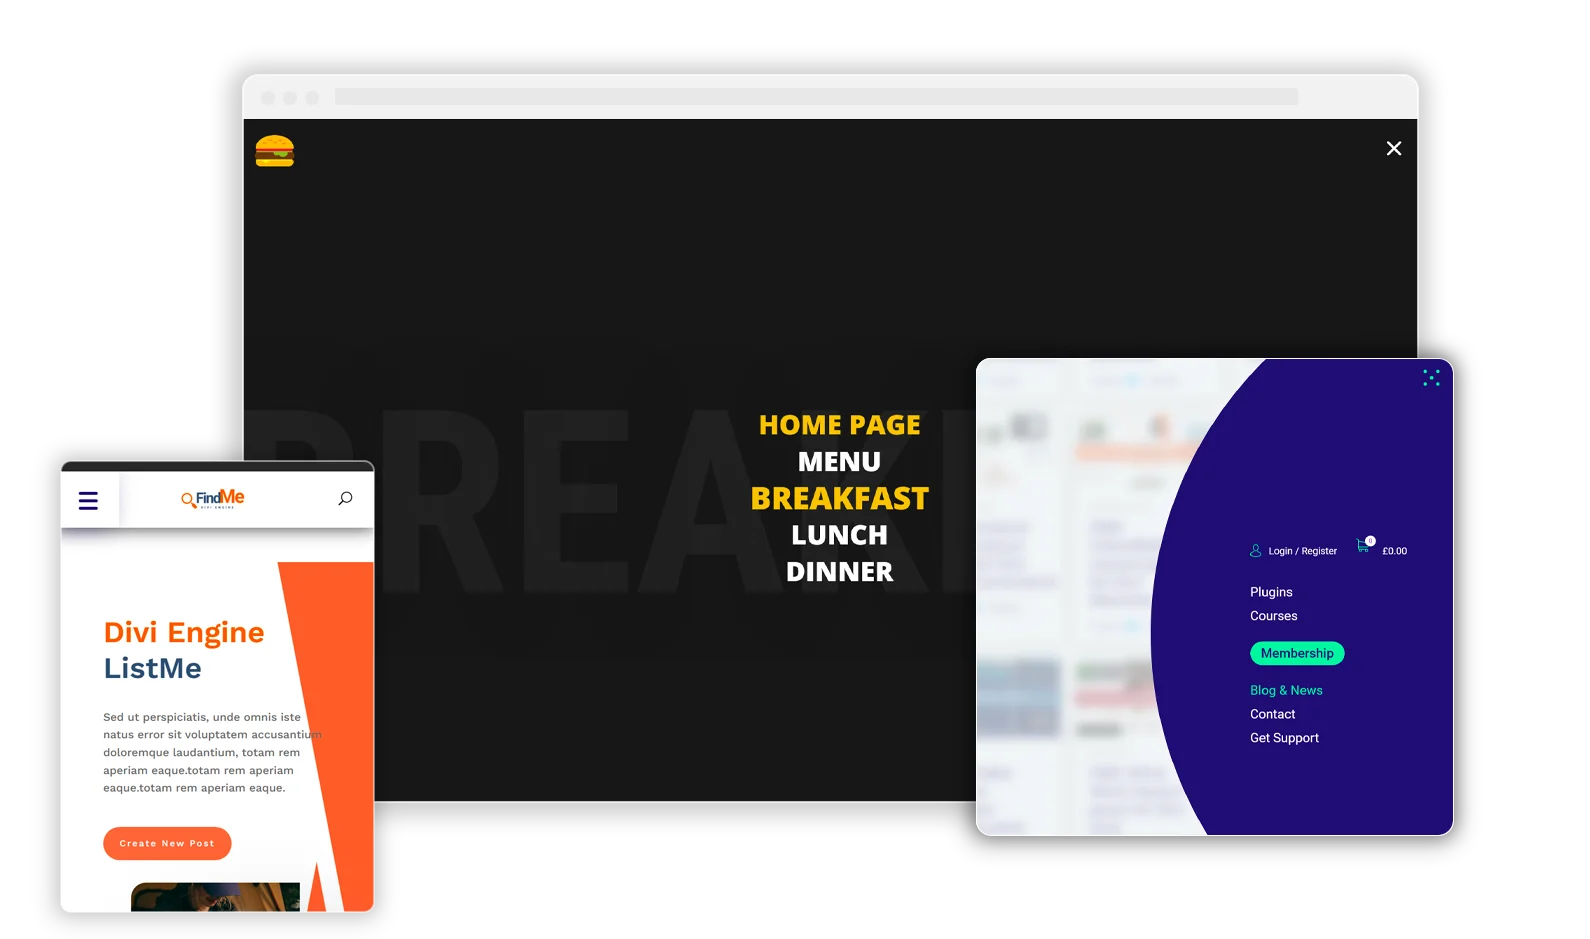
Embark on the second leg of our comprehensive journey through the world of e-commerce with Part 2 of our course, focusing on Product Listing and Customization with Divi BodyCommerce. This segment promises to enrich your understanding and enhance your skills in populating your online store, personalizing your product displays, and refining user experience with the power of WooCommerce and the innovative BodyCommerce plugin. Whether you’re cultivating a brand-new online marketplace or sprucing up an existing shop, these insights will be your guide to mastering the artistry of digital merchandising.
What Will You Learn in Part 2?
- Customization Techniques: Begin Part 2 with a foray into the advanced customization techniques that allow you to build upon the foundational skills from Part 1.
- List-Grid Switcher Integration: Discover the process for incorporating a list-grid switcher into your WooCommerce store, providing users with a more adaptable viewing experience.
- Custom Ordering Settings: Delve into the mechanics of adding custom sorting options to your shop, giving your customers the ability to browse products in a way that suits their preferences.
- Advanced Module Placement: Learn the intricacies of module placement within Divi BodyCommerce to optimize the user interface and improve overall shop functionality.
- Styling and Personalization: Conclude Part 2 with a focus on styling and personalization options that ensure your shop’s design is aligned with your unique brand aesthetic.
So, prepare your workspace, and let’s dive into Part 2. With these new skills, you’ll be poised to offer a user-centric, smooth navigation experience for your customers. And don’t forget, this is only the second chapter in our comprehensive series—there’s much more to come as we continue to unveil the full potential of your e-commerce platform.
Video 6: Adding Products to WooCommerce
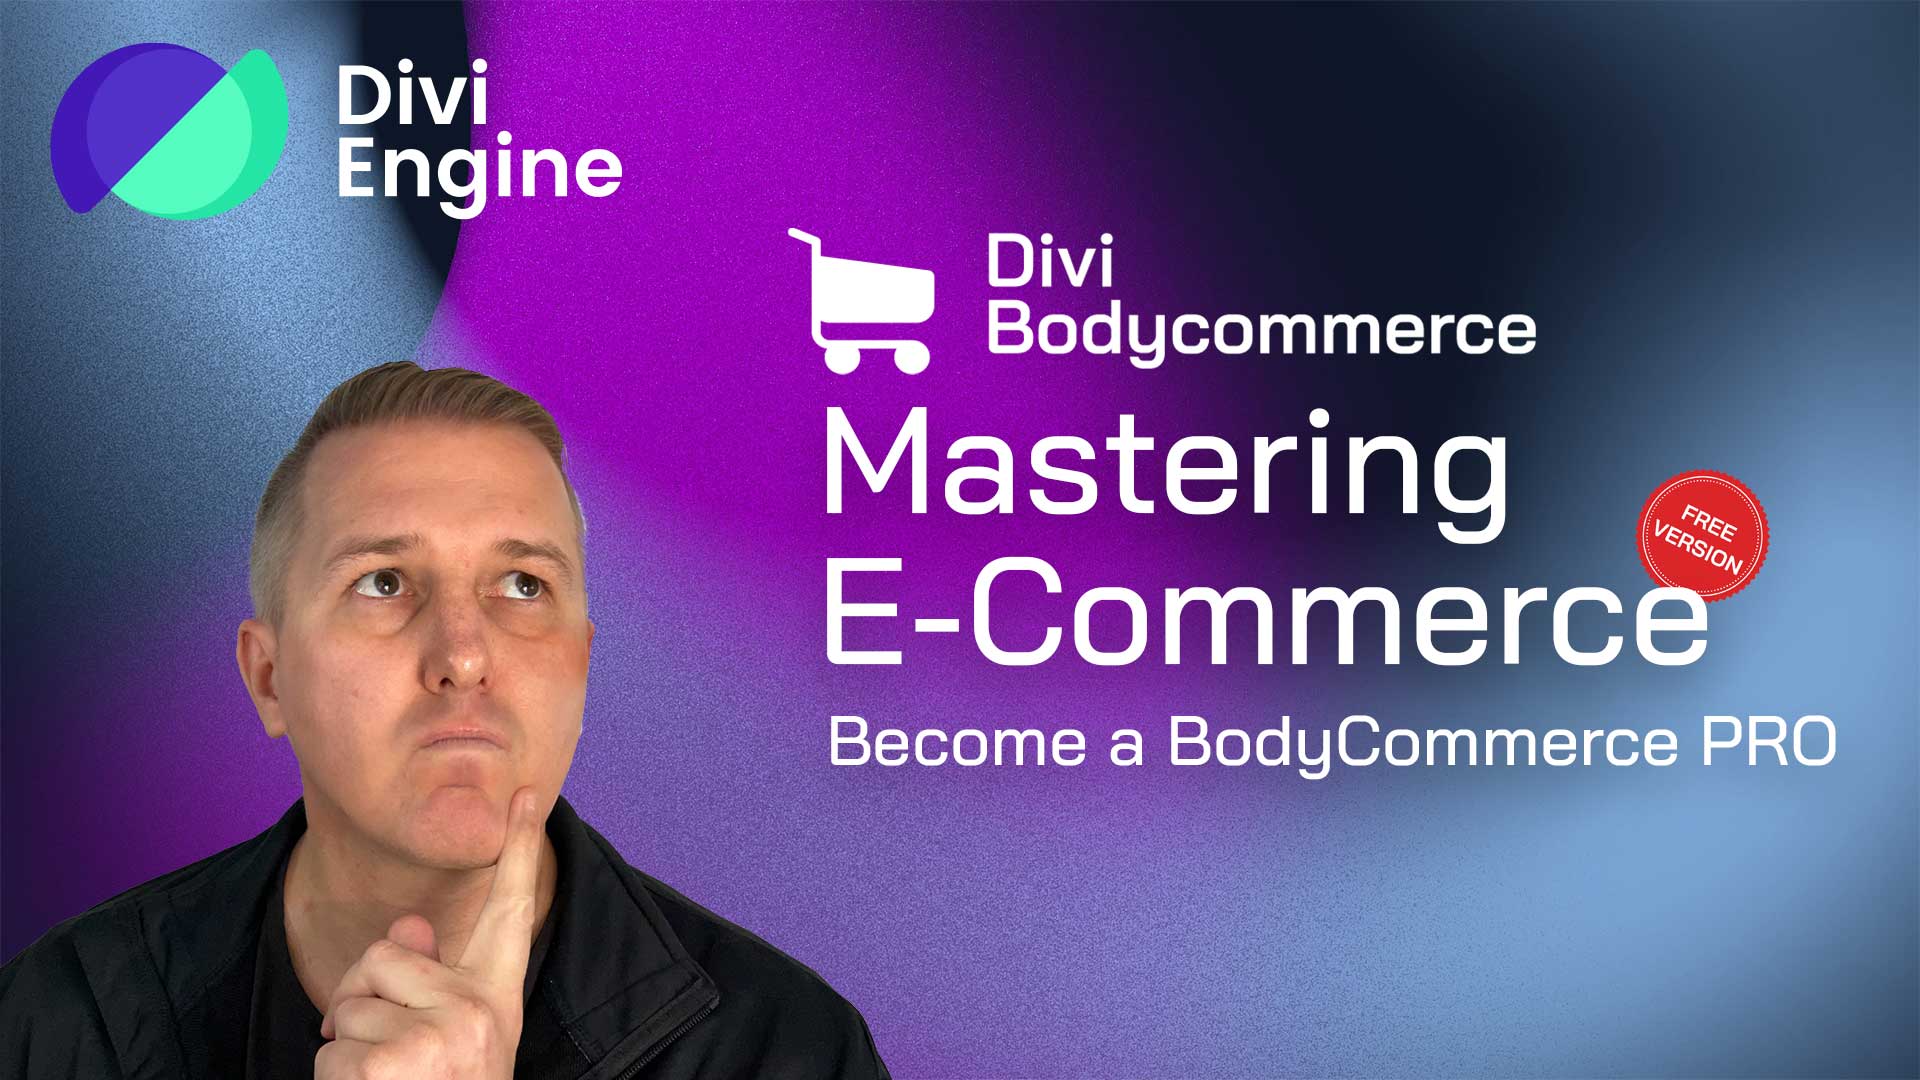
In the sixth installment of our comprehensive series, “Mastering E-commerce with Divi BodyCommerce,” we turn our attention to the very foundation of your online store: adding products to WooCommerce. This video serves as your guide to populating your online storefront with items that will capture the attention and wallets of your customers.
Key Takeaways:
- Streamlined Product Importing: The guide simplifies the process of adding products to WooCommerce, detailing how to import some products from a CSV file with ease and how to correctly map fields, ensuring a smooth integration.
- Diverse Product Import Example: The tutorial wraps up the import section with the successful addition of 16 varied products, highlighting WooCommerce’s ability to handle a range of products, from variable options to multiple categories.
- Manual Product Entry Basics: A succinct run-through is provided for manually adding products, covering the basics from naming and describing the product to setting up inventory and variations based on attributes.
- Visual Shop Transformation: Viewers witness the shop’s evolution with the addition of products, offering a visual representation of how the storefront develops and becomes more vibrant as items are listed.
- Guidance for New Users: The video recommends further learning resources, particularly for WordPress and WooCommerce novices, and points to the “Clone Any Online Store” series for a comprehensive grasp of WooCommerce’s extensive features.
As we wrap up this segment, we edge closer to enhancing your shop’s appearance and functionality with BodyCommerce features. Stay tuned for the upcoming videos where we will delve into product display customization, enabling a smoother and more attractive shopping experience for your customers.
Useful Links:
- Clone Any Online Store with Divi and WooCommerce -> https://diviengine.com/clone-any-online-store-with-divi-and-woocommerce/
- WooCommerce Sample Products CSV Import File (FREEBIE) -> https://diviengine.com/woocommerce-sample-products-csv-import-file-freebie/
Video 7: BodyCommerce Overview
The seventh video in our tutorial series, “Mastering E-commerce with Divi BodyCommerce,” invites you to delve into the functional heart of the plugin. We take you on a guided tour of the BodyCommerce settings and illustrate how to leverage these powerful tools to craft the perfect e-commerce experience.
Key Takeaways:
- Navigating BodyCommerce Settings: The platform offers a comprehensive range of settings, categorized for easy access, enabling users to fine-tune their online store’s features and functionalities efficiently.
- Product Page Configuration: Templates can be assigned directly to product pages within BodyCommerce, bypassing the need for the Divi Theme Builder, which streamlines the design process for various product types and categories.
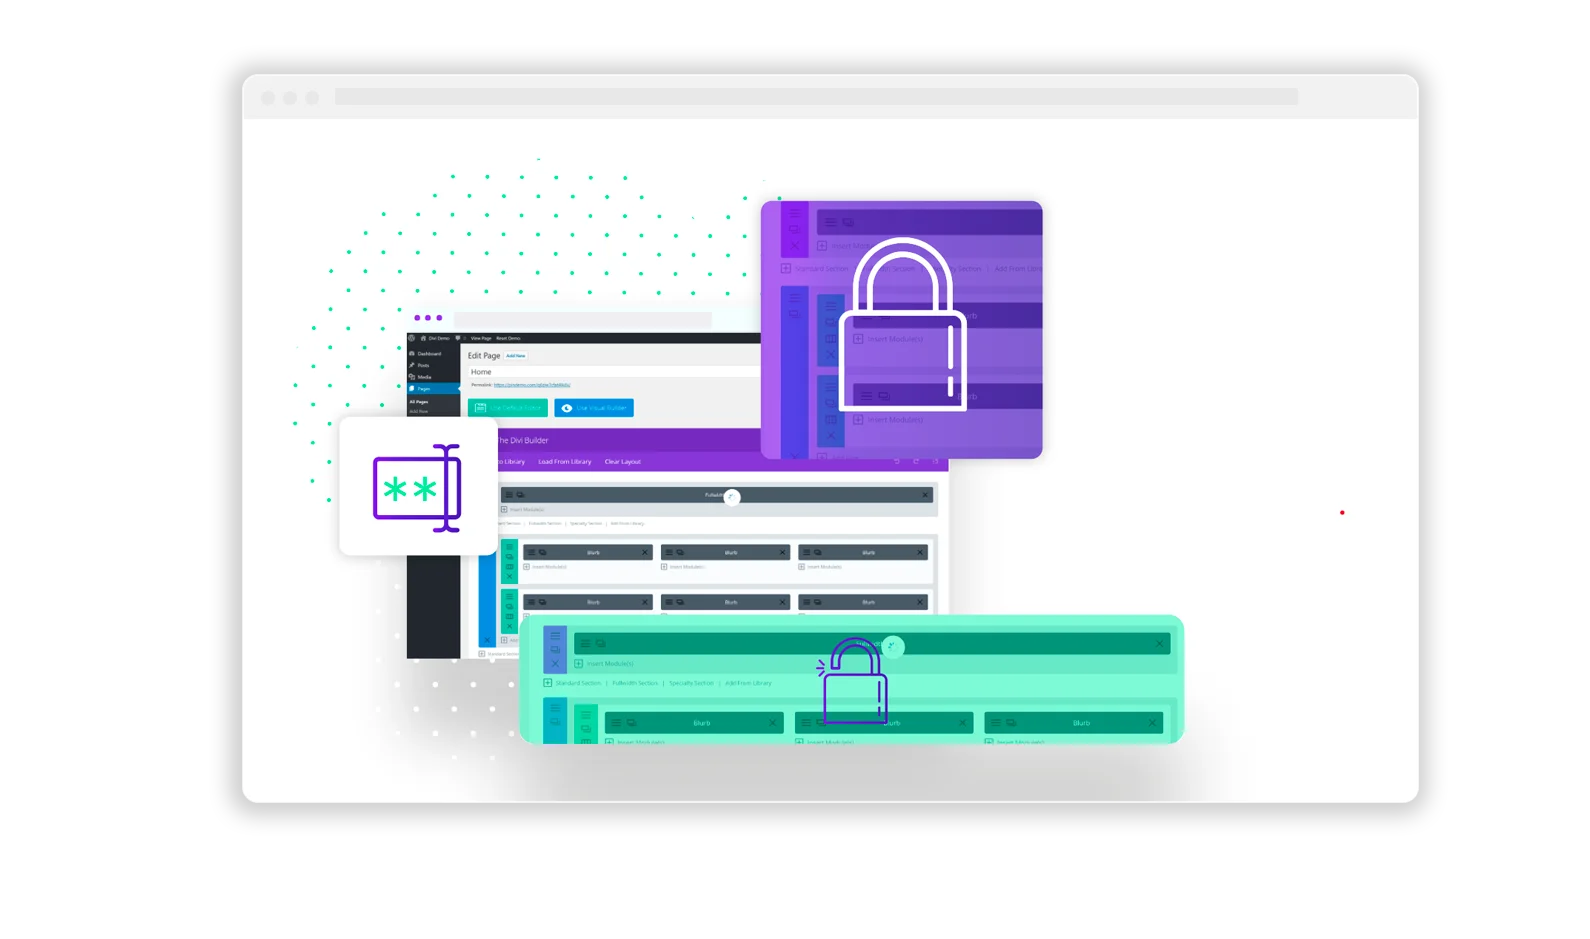
- Layout Construction Advice: For a smoother experience, it’s advised to build layouts within the Divi library or Theme Builder rather than directly on WooCommerce pages, which could lead to unpredictable outcomes.
- Customizing Product Displays: The tutorial provides insights on how to tailor layouts for different product categories and tags, granting the ability to modify each store section’s look while managing design elements like width.
- Enhancing Checkout Experiences: Customizing the My Account and checkout pages is essential, with BodyCommerce offering templates for the checkout process, including styles reminiscent of Shopify’s streamlined checkout.
- Interface Control Settings: Beyond aesthetics, BodyCommerce presents extensive UI management options, such as pagination settings and color scheme adjustments, for a more refined user experience.
- Additional Functional Enhancements: BodyCommerce enhances Divi’s capabilities with custom CSS options and unique shortcodes, facilitating advanced features like sticky footers and dynamic cart icons.
- Leveraging the Divi Library: The session illustrates how to harness over 60 specialized BodyCommerce modules within the Divi library, enriching different aspects of the e-commerce experience.
- Resource Utilization: Emphasizing the importance of using BodyCommerce’s online documentation, the video encourages staying up-to-date with the latest features and functionalities.
With this foundational knowledge, the video sets you up for the next phase where you’ll learn to use the archive loop module to display products using Divi BodyCommerce modules for added flexibility and customization.
Video 8: Displaying our Products with the Archive Loop
We continue our journey into the realm of e-commerce with Divi, this time turning our attention to BodyCommerce and how it revolutionizes product display on the front end of our websites. The last session set the stage by giving us an overview of the various settings and modules within BodyCommerce. Now, we are ready to implement these tools to create a more dynamic and functional product showcase, moving past the basic Divi modules.
Key Takeaways:
- Utilization of Pre-made Layouts: The free “Clothing Store” layout from Elegant Themes is used as a base for customization.
- Editing in Divi Library: A shop page layout previously created is edited in the Divi Library.
- Body Commerce “Product Loop” Module: The standard Divi module is replaced with the Divi BodyCommerce “Product Loop” module to enhance functionality.
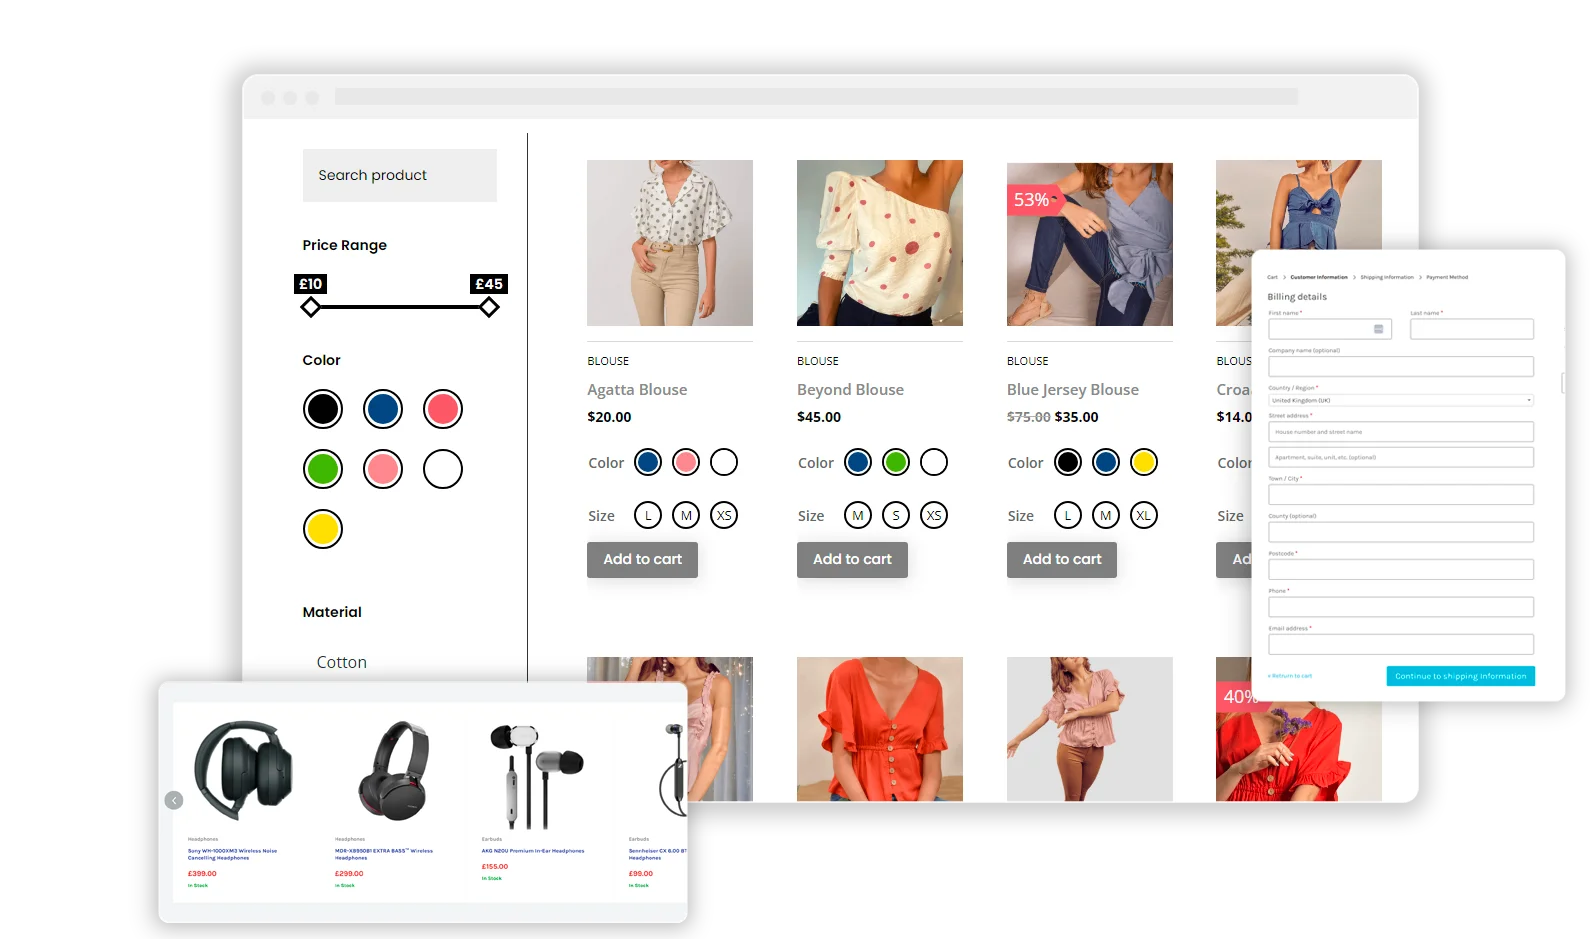
- Customization Options: Detailed guidance on customizing product displays, including exclusion of categories, grid options, and pagination versus infinite scroll.
- Loop Template Features: An exploration of loop templates and how to adjust settings like product excerpts and the add-to-cart button.
- Applying the Layout: Steps to save and assign the new layout to the shop page through Divi BodyCommerce settings.
- Anticipation of Future Lessons: A teaser for upcoming tutorials on creating custom Loop templates for greater design flexibility.
As we wrap up, it’s clear that BodyCommerce is a powerful ally for anyone running a Divi-based e-commerce store. It offers the flexibility to create a unique and user-friendly shopping environment. And while we’ve laid a strong foundation today, we’re just scratching the surface. Upcoming lessons promise to dive deeper, showing how to build custom Loop templates that offer an even greater degree of control and personalization. With each step, we’re turning the functional into the phenomenal, ensuring that our e-commerce sites are not just stores, but destinations.
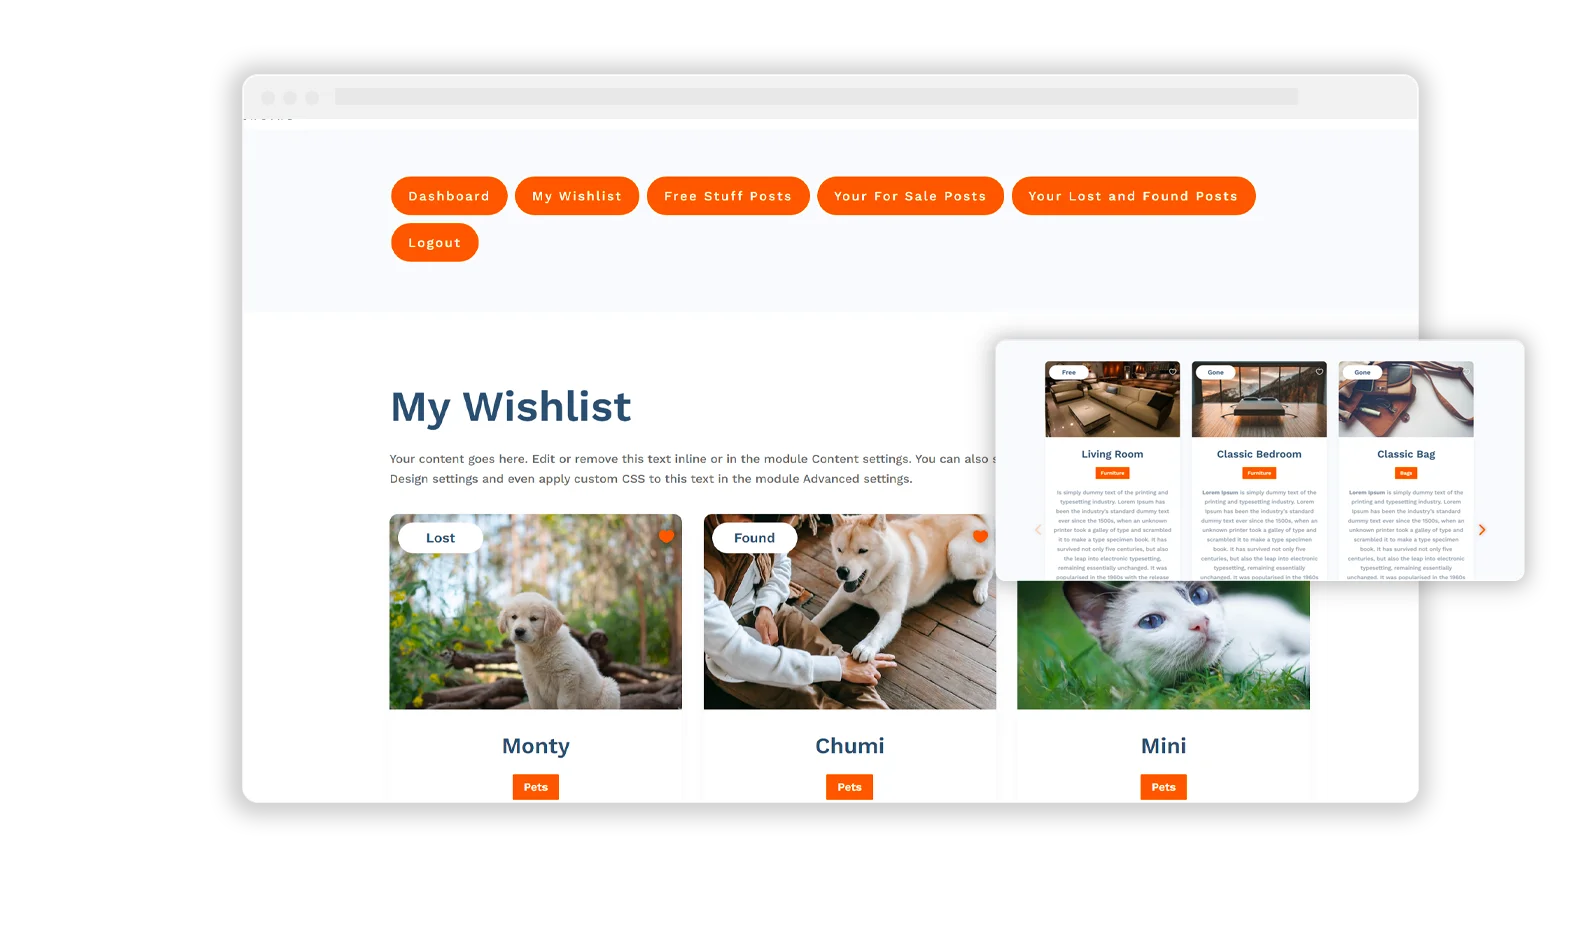
Video 9: Adding a List/Grid Switcher
With this part of our exploration into Divi and e-commerce, personalization is key, and Divi BodyCommerce taps into this by introducing the list/grid switcher to its toolkit. This addition offers a significant boost to user experience, allowing customers to tailor the product view to their preferences with ease.
Key Takeaways:
- Easy Integration of List/Grid Switcher: Adding a list/grid switcher to the shop layout is extremely straightforward and can be done in seconds, providing a significant enhancement to the user experience by allowing customers to toggle between list and grid views of products.
- Accessible Layout Editing: The tutorial demonstrates two methods to access and edit the layout: through the Divi Library or directly via the BodyCommerce settings, which can bring up the layout in the Divi Library for editing.
- Customizable Product Display: The grid list switcher feature offers customization options like setting default states, deciding icon placement, and adjusting card heights for uniformity, although it’s noted that the masonry layout might be preferred by some.
- Persistent Viewing Preferences: The switcher includes a cookie time setting that determines how long the user’s view preference is remembered, ranging from a single session to a year, providing flexibility and improved user retention by recalling individual preferences.
- Design Flexibility: Within the design settings, there is the capability to alter the appearance of the list/grid view switcher extensively, including icons, colors, and shapes, which allows for seamless integration into the overall design of the shop page.
- Front-end Magic with CSS: The implementation relies on CSS to transform the layout without reloading, making it efficient. Custom classes can be added to maintain consistent design elements across both list and grid views.
- Preparation for Advanced Customization: The video teases upcoming content that will delve into building custom loop layouts and adding custom sorting options, indicating more complex and tailored design options to come for the shop page layout.
To wrap up, this video demystifies the process of enhancing a Divi shop layout with a list/grid switcher. It’s a prime example of how BodyCommerce can streamline site customization, setting the stage for a more engaging and user-friendly shopping environment. Keep an eye out for our next piece, where we’ll explore more ways to refine your e-commerce experience.
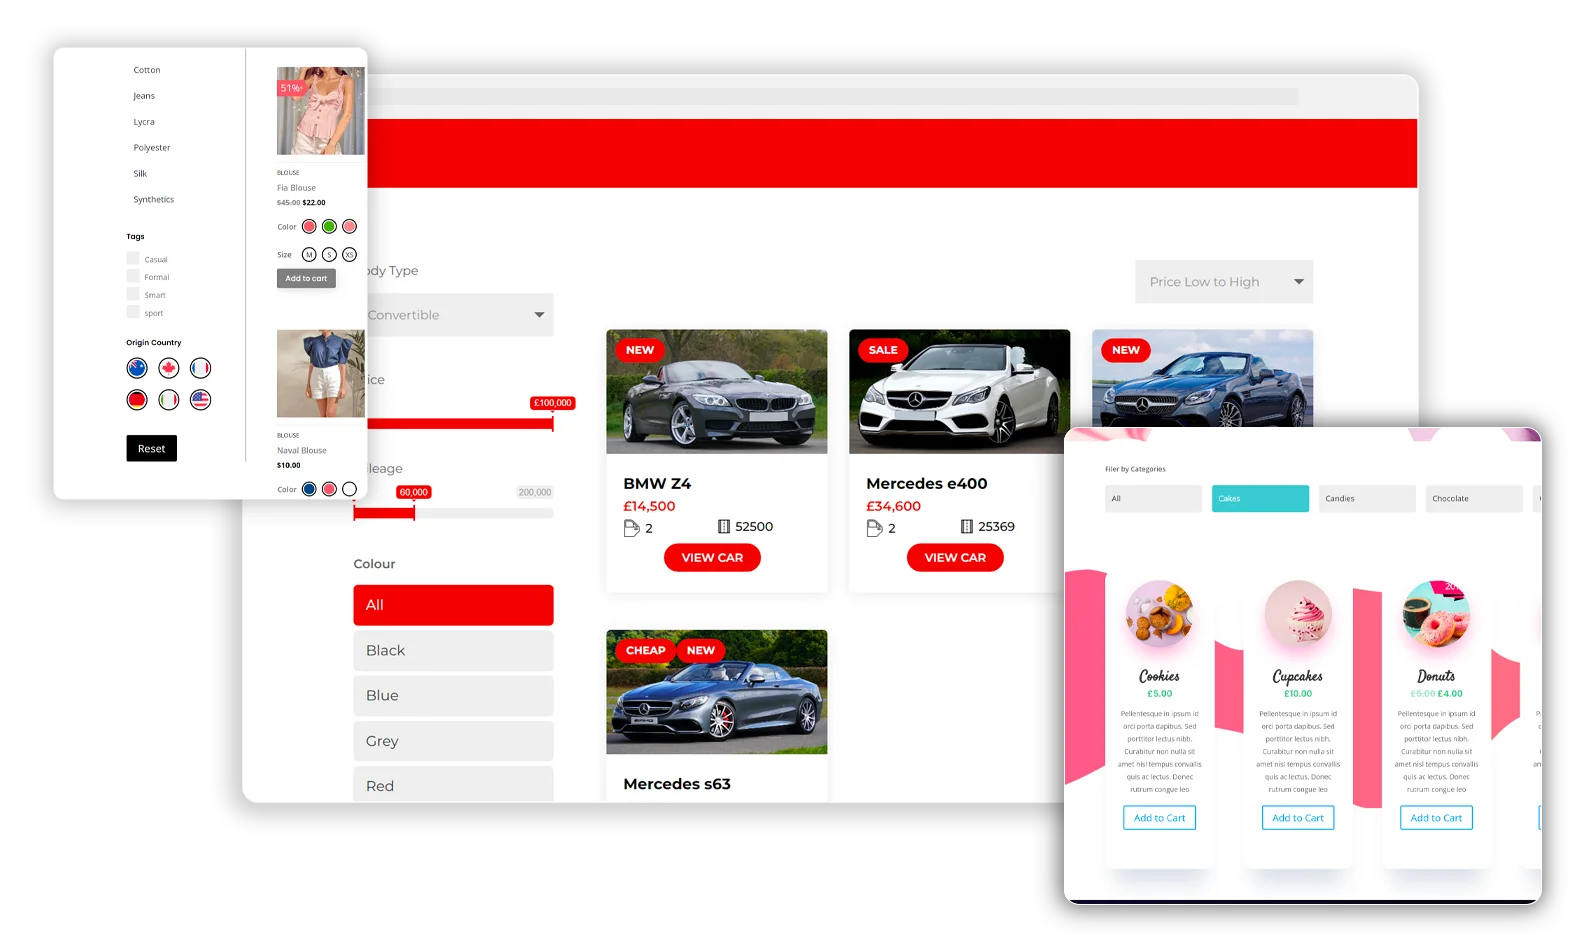
Video 10: Adding Custom Order By Options
Custom sorting options are not just an additional feature; they’re a customer empowerment tool that lets shoppers sift through products according to their preferences. The integration of these settings within Divi BodyCommerce ensures that users aren’t just passively browsing but actively engaging with the storefront.
Key Takeaways:
- Custom Sort Integration: Divi BodyCommerce’s module allows for custom ‘Order By’ settings to be added to shop pages, enhancing user navigation.
- Versatile Field Options: There’s flexibility to include ACF custom fields for sorting, catering to unique product attributes like mileage for cars or square footage for real estate.
- User Experience: Placement is key, and the sorting options can be aligned to complement the list/grid switcher, providing a coherent layout for the user.
- Sorting Logic: Identifying whether fields are numeric or alphanumeric is crucial as it influences the sorting mechanism – a necessary detail for accurate display.
- Design and Styling: While the tutorial doesn’t delve into styling, Divi’s design options are extensive, allowing for a seamless integration with the site’s overall aesthetic.
- Positioning Matters: The placement of the sorting module is adjustable; it’s recommended to position it effectively, such as above the product loop for easy access.
To conclude, the addition of custom sorting options via Divi BodyCommerce enhances the e-commerce experience by making product searches more intuitive and tailored. With user-friendly interfaces and granular control over product display, Divi continues to streamline the e-commerce design process, ensuring that both the customer and the retailer can navigate the online store with ease and efficiency. As we progress, stay tuned for insights into creating custom loop layouts that will further refine the browsing experience.
Coming up:
Part 3: Enhancing User Experience with Pre-made or Custom Loop Templates
As we look ahead to Part 3, we delve into the world of WooCommerce loop templates. This is where the visual and functional aspects of your product listings take shape. We’ll start by introducing loop templates and their role in creating a cohesive shopping environment. Next, we’ll walk you through the process of integrating pre-made loop templates available within Divi BodyCommerce, offering you the speed and efficiency of expertly designed layouts.
Accessing the Course
While this free course provides core training, additional features such as progress tracking, support, and completion certificates are not included. For full access to these features, consider our paid version.
We’re excited to offer this course to the WordPress community, and there’s no enrollment required. All course installments will be published on our blog and linked in related posts, just like this one.


0 Comments